A ROS2 project for autonomous car racing RC CAR. Code can run both in the physical car, as well as in simulation.
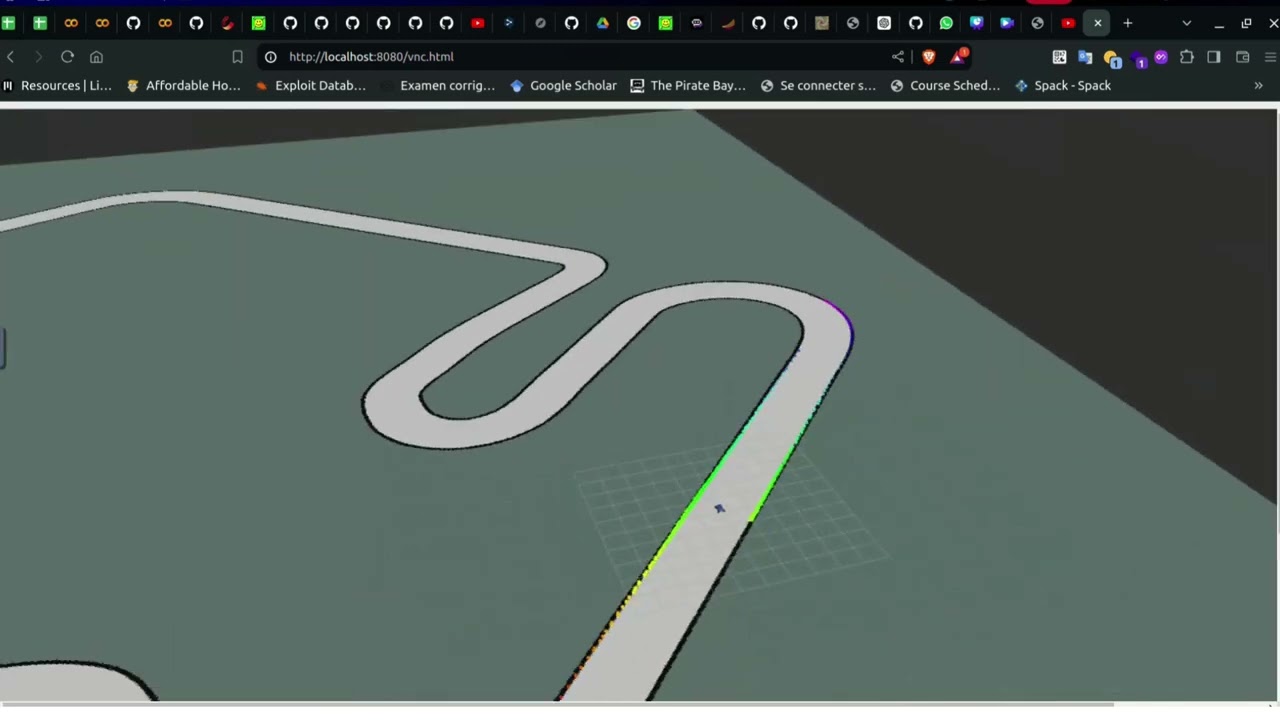
Below is a demo of the car in the Simulation env:
Supported System:
- Windows 10, macOS, and Ubuntu without an NVIDIA gpu (using noVNC)
Install the following dependencies:
- Docker Follow the instructions here to install Docker. A short tutorial can be found here if you're not familiar with Docker. If you followed the post-installation steps you won't have to prepend your docker and docker-compose commands with sudo.
- Additionally you'll need docker-compose. Follow the instruction here to install docker-compose.
- Clone this repo
git clone https://github.com/S7our-Squad/RC-CAR-ROS2.git
cd RC-CAR-ROS2- Bringup the noVNC container and the sim container with docker-compose:
docker compose up- In a separate terminal, run the following, and you'll have the a bash session in the simulation container.
tmuxis available for convenience.
docker exec -it rc-car-ros2-sim-1 /bin/bash- In your browser, navigate to http://localhost:8080/vnc.html, you should see the noVNC logo with the connect button. Click the connect button to connect to the session.
tmuxis included in the container, so you can create multiple bash sessions in the same terminal.- To launch the simulation, make sure you source both the ROS2 setup script and the local workspace setup script. Run the following in the bash session from the container:
source /opt/ros/foxy/setup.bash
source install/local_setup.bash
ros2 launch simulator gym_bridge_launch.py
A rviz window should pop up showing the simulation either on your host system or in the browser window depending on the display forwarding you chose.
You can then run another node by creating another bash session in tmux.
- The configuration file for the simulation is at
simulator/config/sim.yaml. - Topic names and namespaces can be configured but is recommended to leave uncahnged.
- The map can be changed via the
map_pathparameter. You'll have to use the full path to the map file in the container. The map follows the ROS convention. It is assumed that the image file and theyamlfile for the map are in the same directory with the same name. See the note below about mounting a volume to see where to put your map file. - The
num_agentparameter can be changed to either 1 or 2 for single or two agent racing. - The ego and opponent starting pose can also be changed via parameters, these are in the global map coordinate frame.
The entire directory of the repo is mounted to a workspace /sim_ws/src as a package. All changes made in the repo on the host system will also reflect in the container. After changing the configuration, run colcon build again in the container workspace to make sure the changes are reflected.
The keyboard teleop node from teleop_twist_keyboard is also installed as part of the simulation's dependency. To enable keyboard teleop, set kb_teleop to True in sim.yaml. After launching the simulation, in another terminal, run:
ros2 run teleop_twist_keyboard teleop_twist_keyboardThen, press i to move forward, u and o to move forward and turn, , to move backwards, m and . to move backwards and turn, and k to stop in the terminal window running the teleop node.
S7our Squad team at the University of Ibn Tofail, we work on autonomous systems (cars), led by professor BOUKIR Khawla. Current members composed of OKHADIR Hamza, GHIATI Mustapha, KHATIB Mouad and EL-LOUH Youssef.